This section allows you to manages AAD users available in customer's tenant with several action items.
Click on Users section under Microsoft menu item from the left menu bar to access this section.
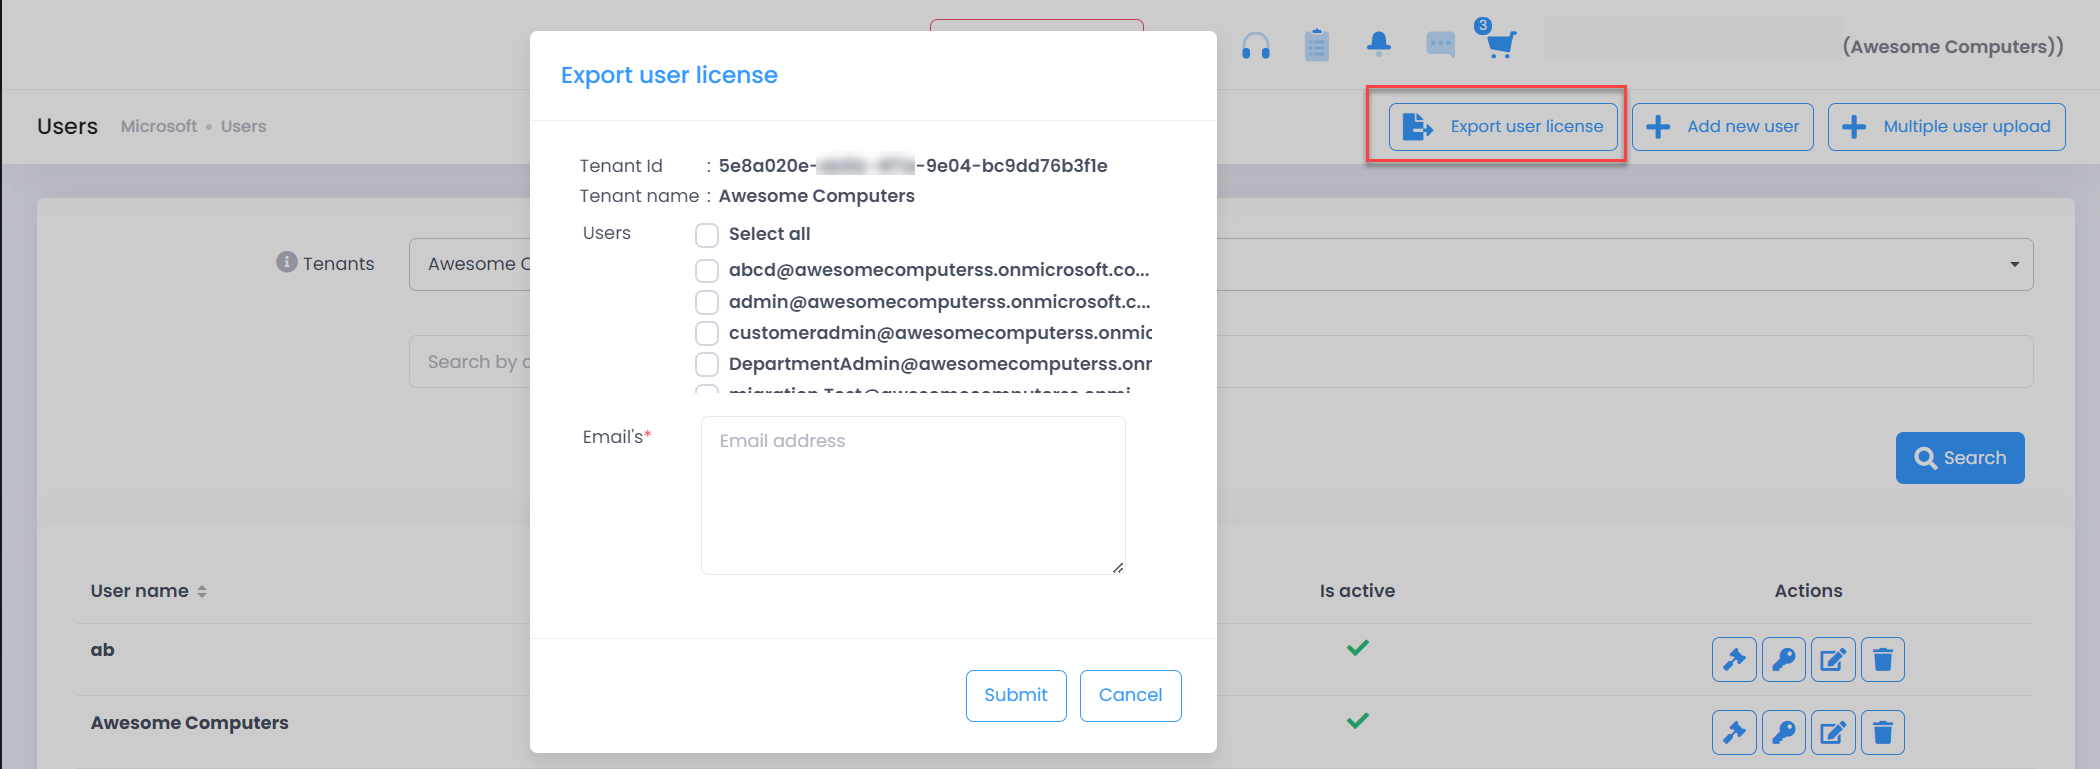
Export User License
This feature will enable you to send user license assignment reports to any email address or customer admin.
To use this,
- Click on Export User License button
- Pop up will appear, select the users(specific or all) you want to export the license assignment report for and define the report recipient's email address followed by Submit.
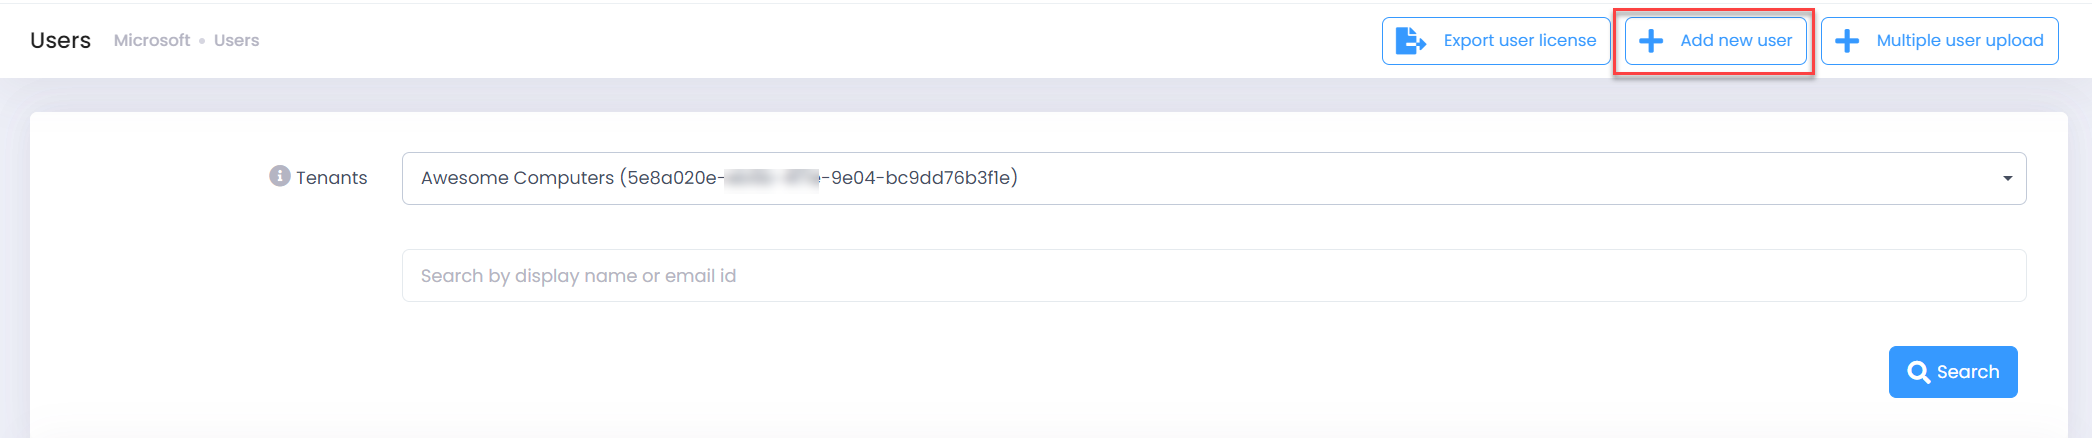
Add Single user
-
Click on Add New User button
-
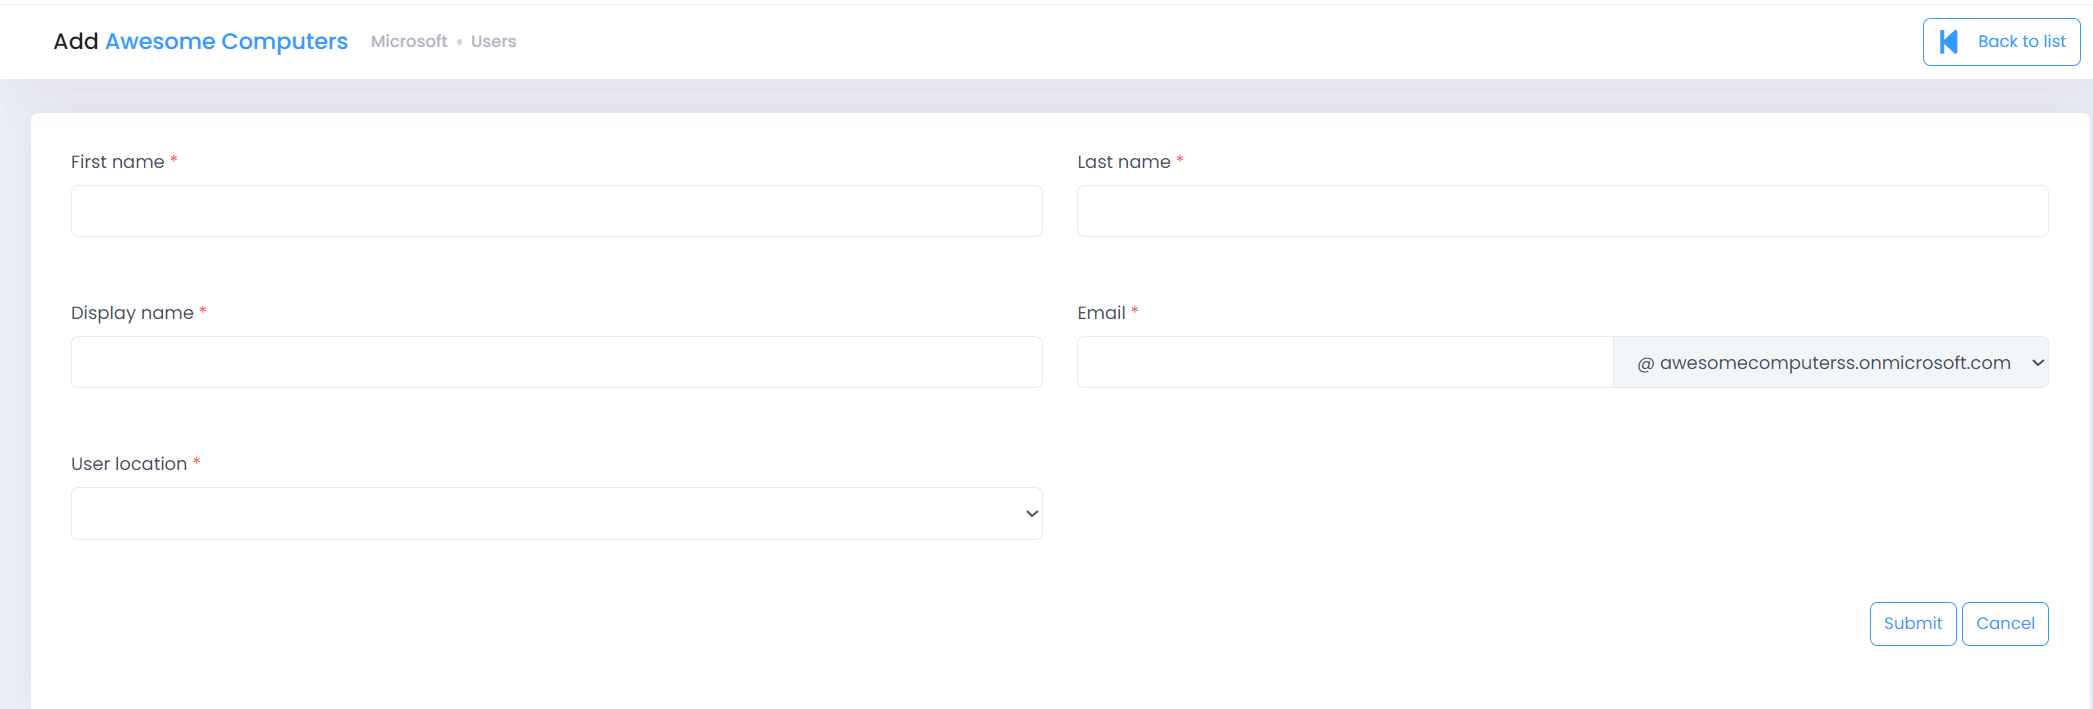
Enter First Name, Last Name, Display Name and Email
-
Select the Usage Location
-
Click on Submit button
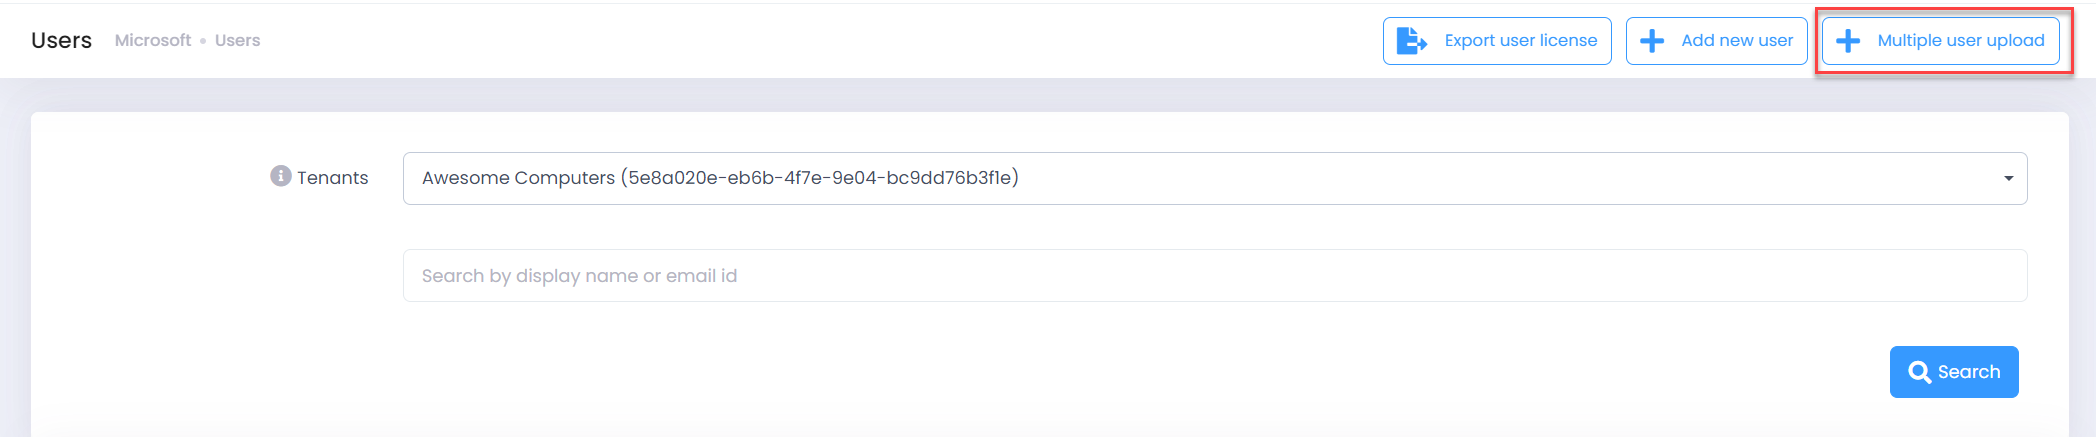
Add Multiple Users
-
Click on Multiple User Upload button.
-
Read the instructions and prepare the .csv file with user details.
-
Click on Select button and upload the file.
-
Select Usage Location and click on Submit
-
It will take couple of minutes to create the users.
-
After completing you can see the Get Uploaded Users Details button, click on it.
-
It will download one .csv file with the user credentials.

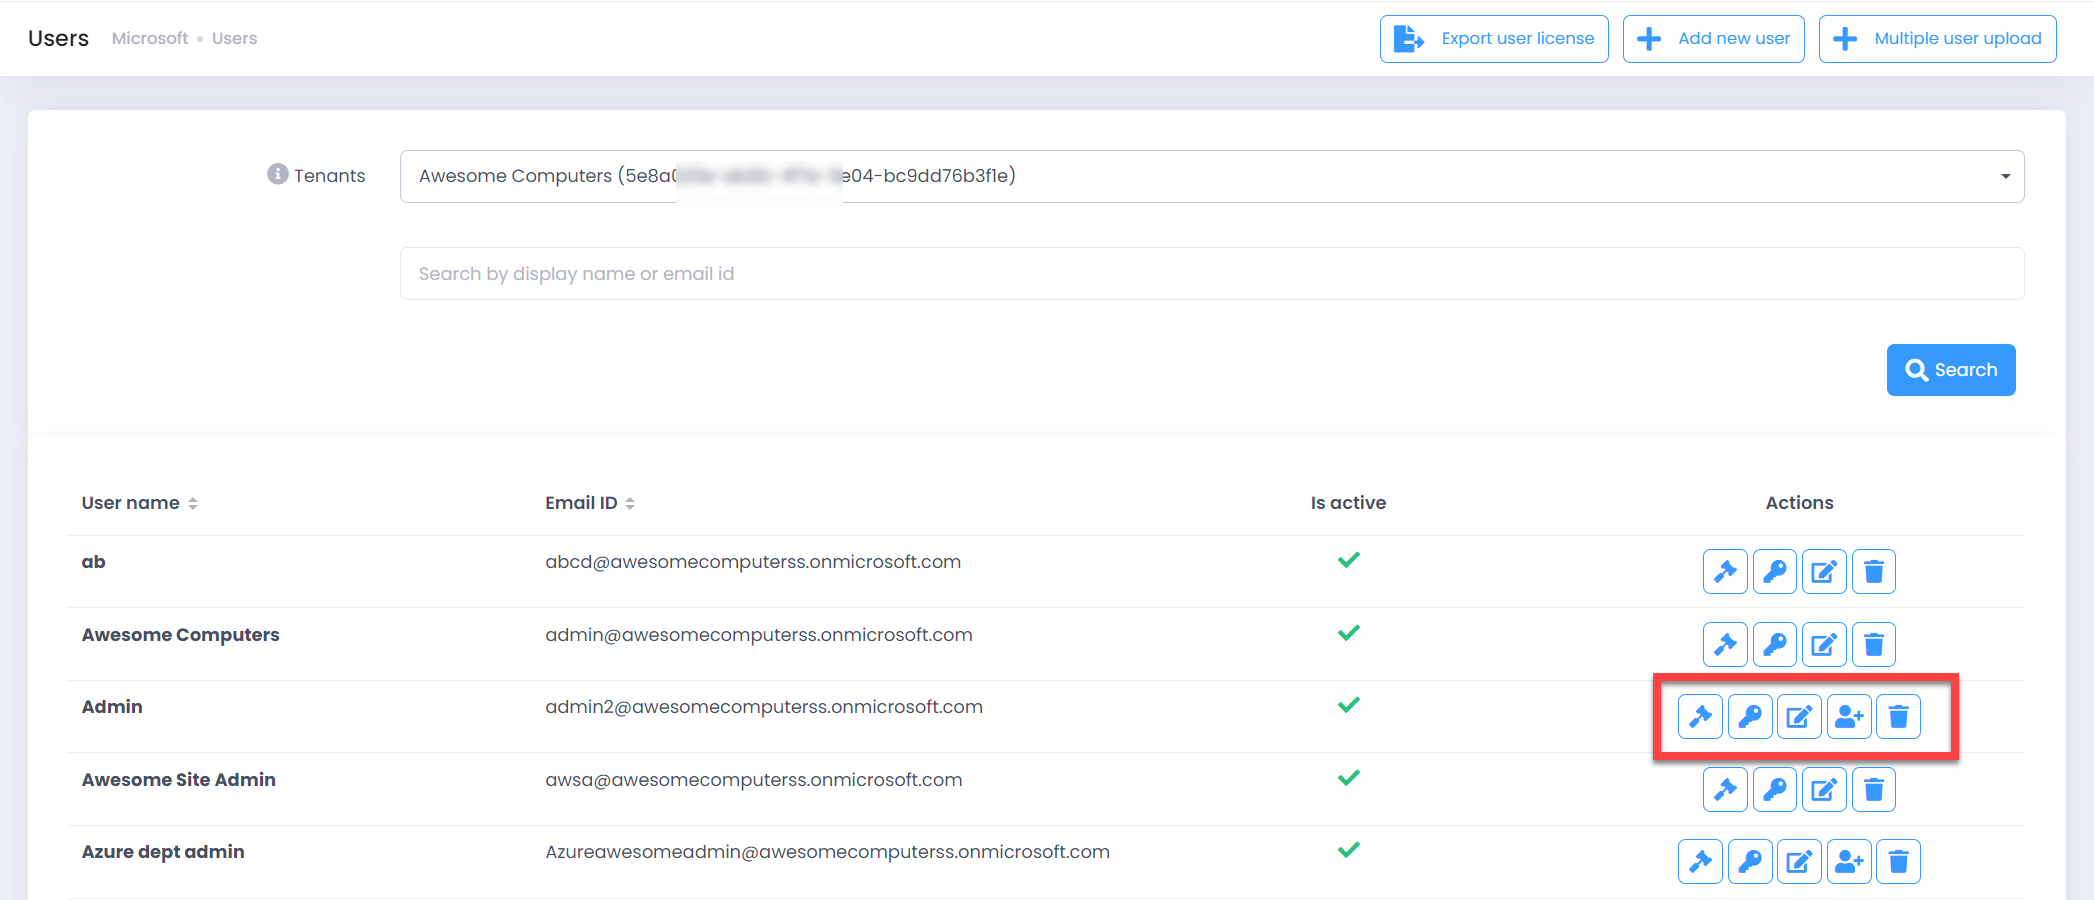
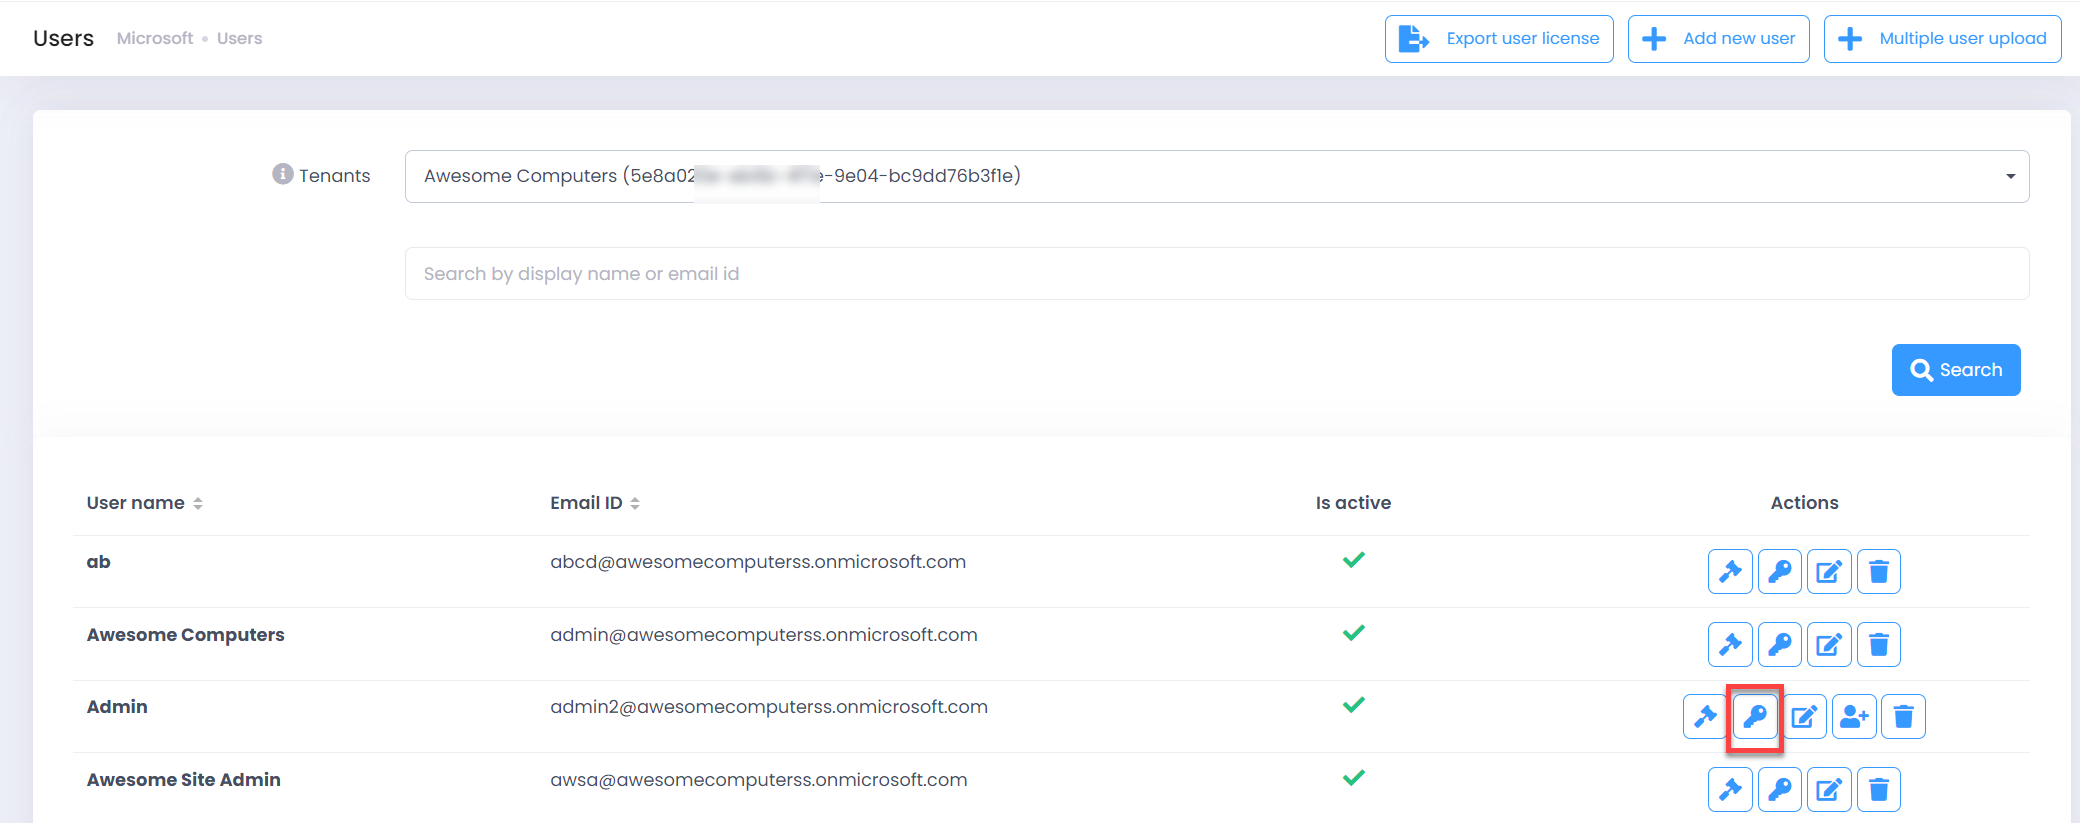
Manage options
- You will be able to view all the users part of your Active Directory with the following details:
- User Name will display the name of that respective user
- Email ID will show you the email address of that user
- Is Active will display the current status of that user
- Actions
- Licenses
- Reset Password
- Edit User Details
- Grant Access to the Portal (Will appear only if the user doesn't already have permission to the C3 portal)
- Delete User
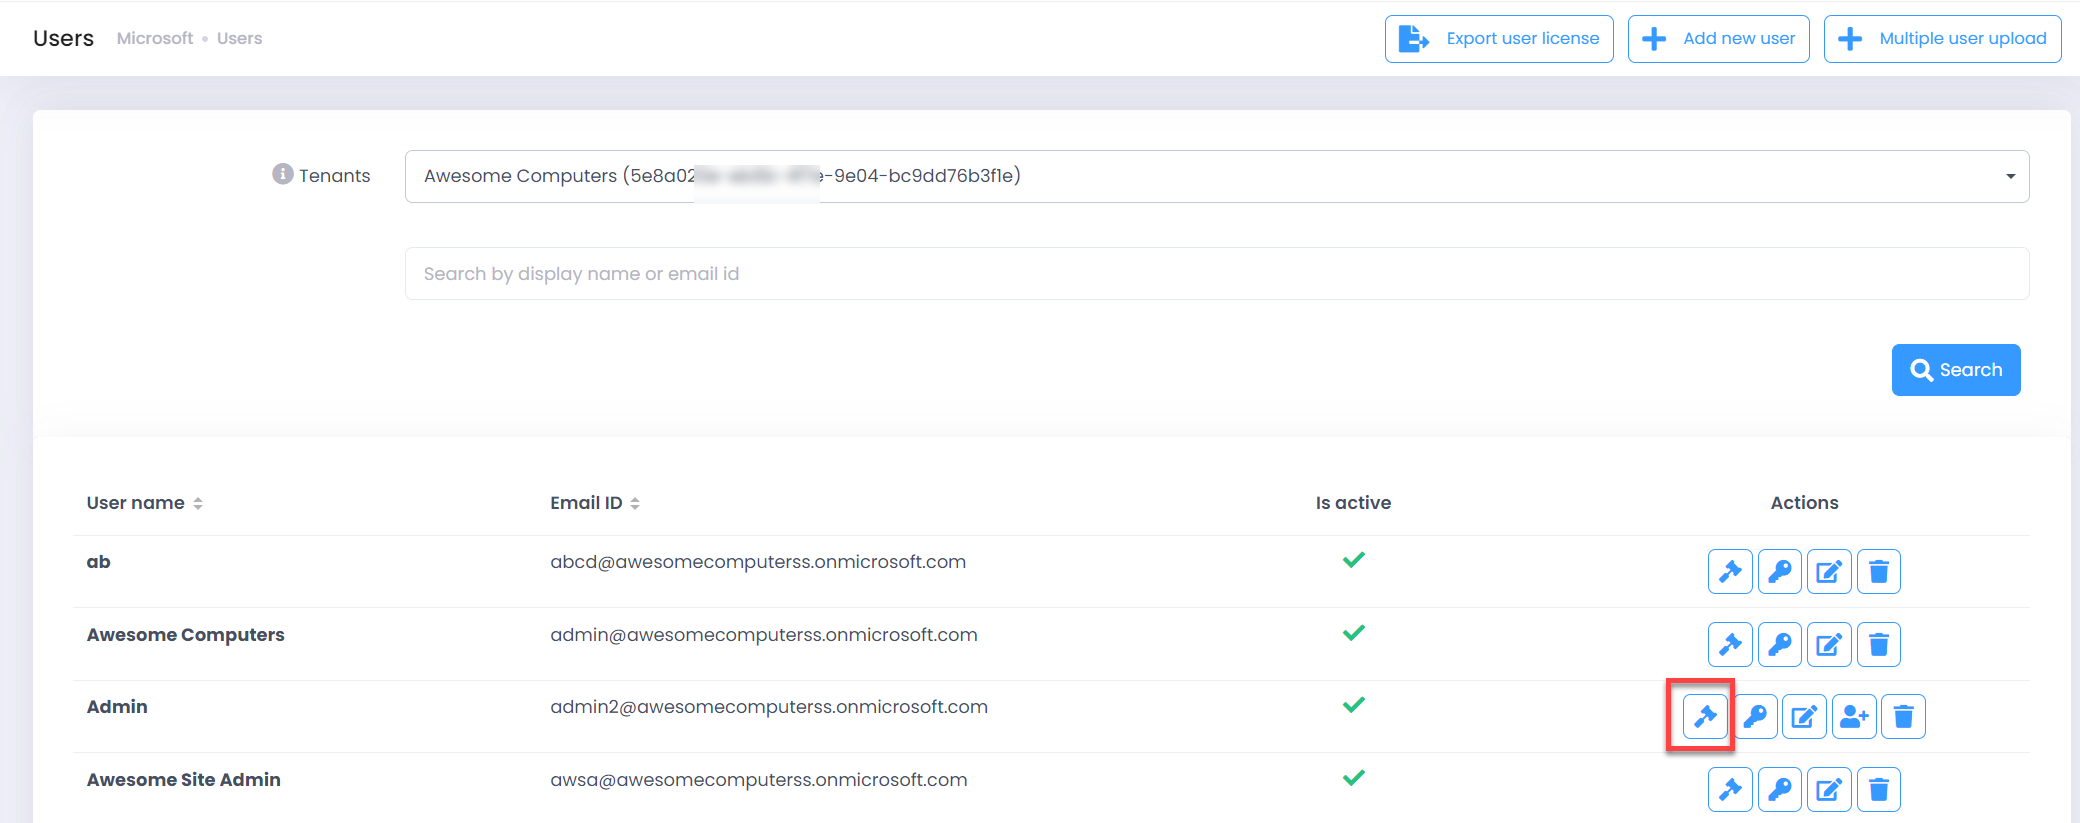
Licenses
-
Click on Licenses button in the Actions column of the desired user.
-
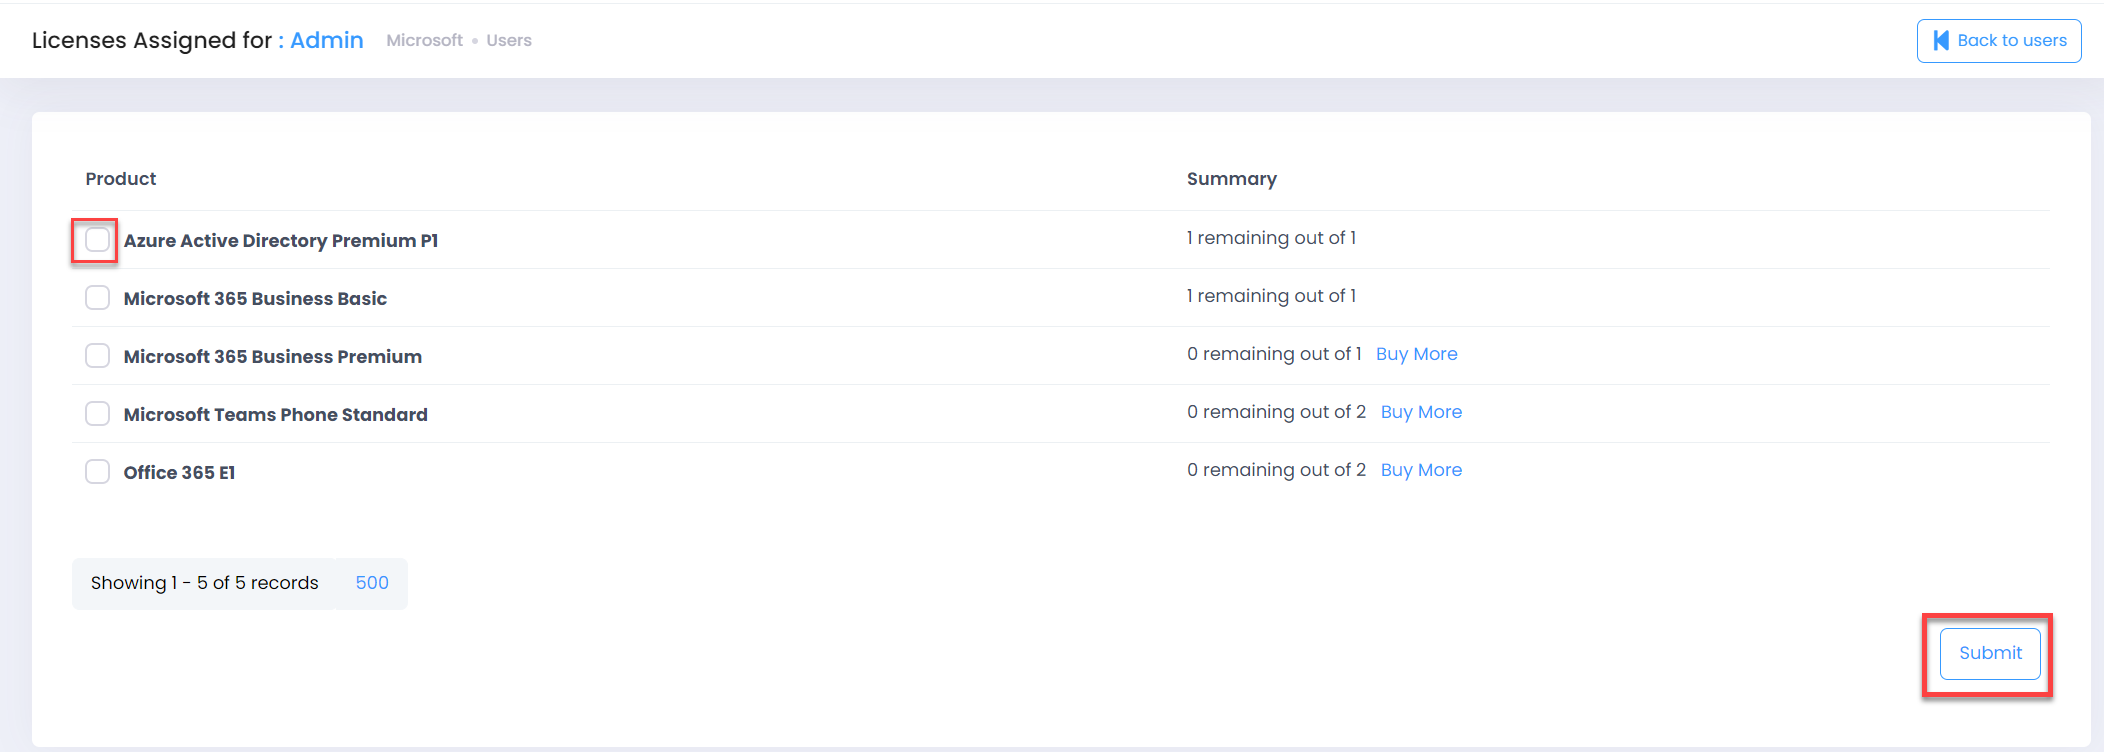
You can see the available licenses and the usage summary.
-
If no seats are remaining, then buy more licenses.
-
Check the checkbox for license to assign it or uncheck the checkbox simply to revoke the license (if already assigned) and then click on Submit button.
Reset Password
- Using this you can either create an Auto-generated password OR create a Customer Password of your choice
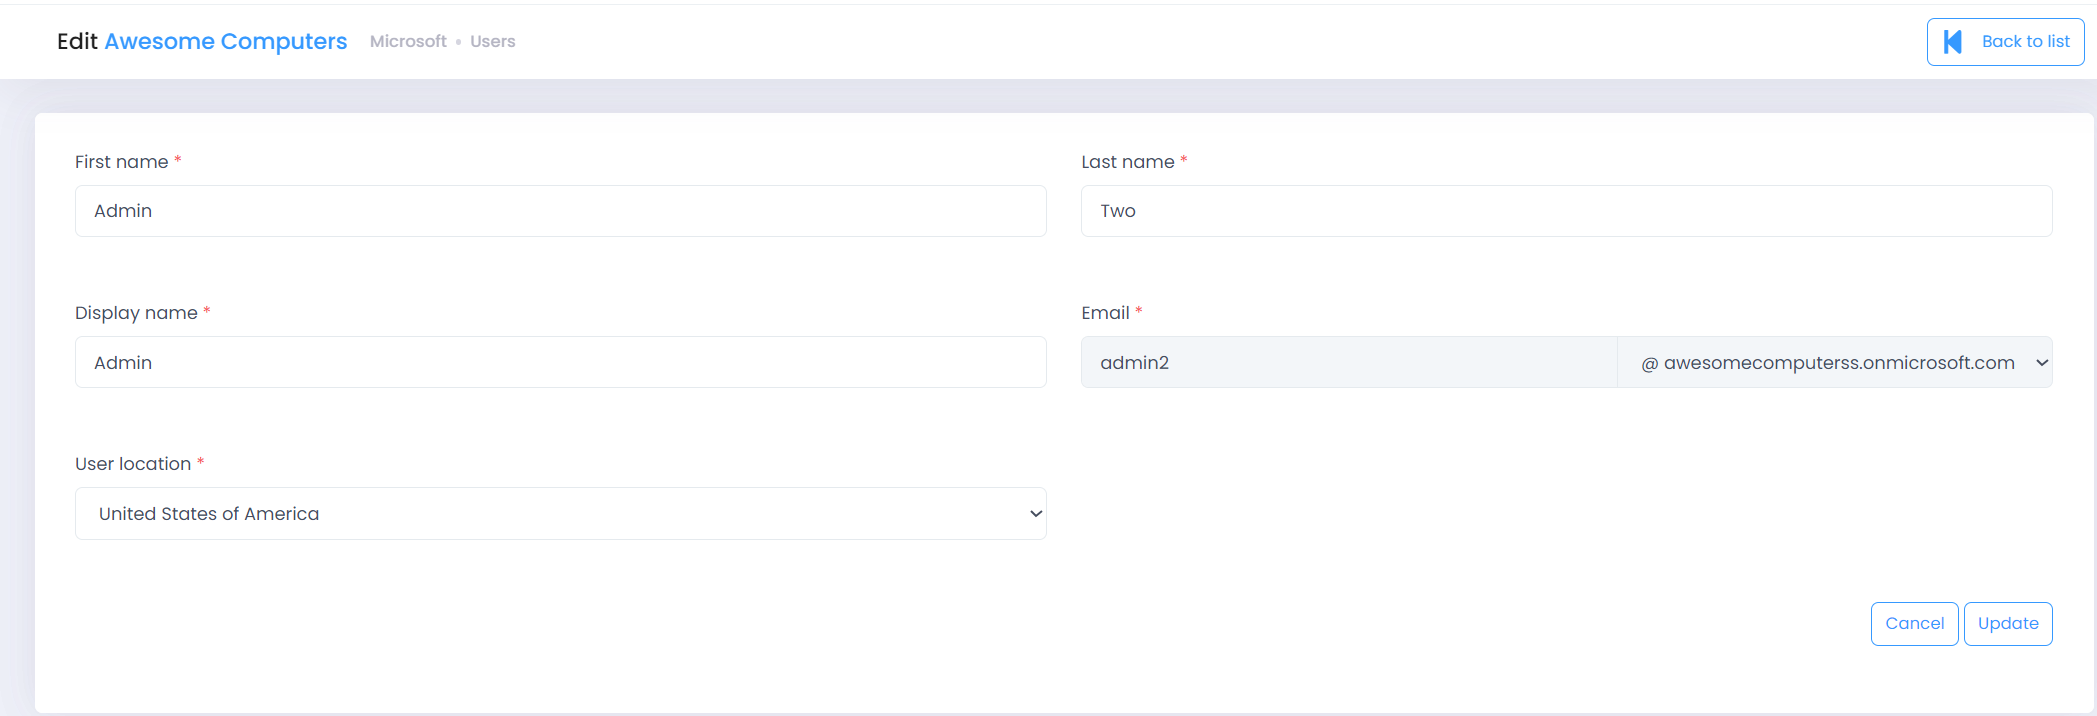
Edit User Details
- Use this if you need to edit the following details of the user
- First Name
- Last Name
- Display Name
- User Location
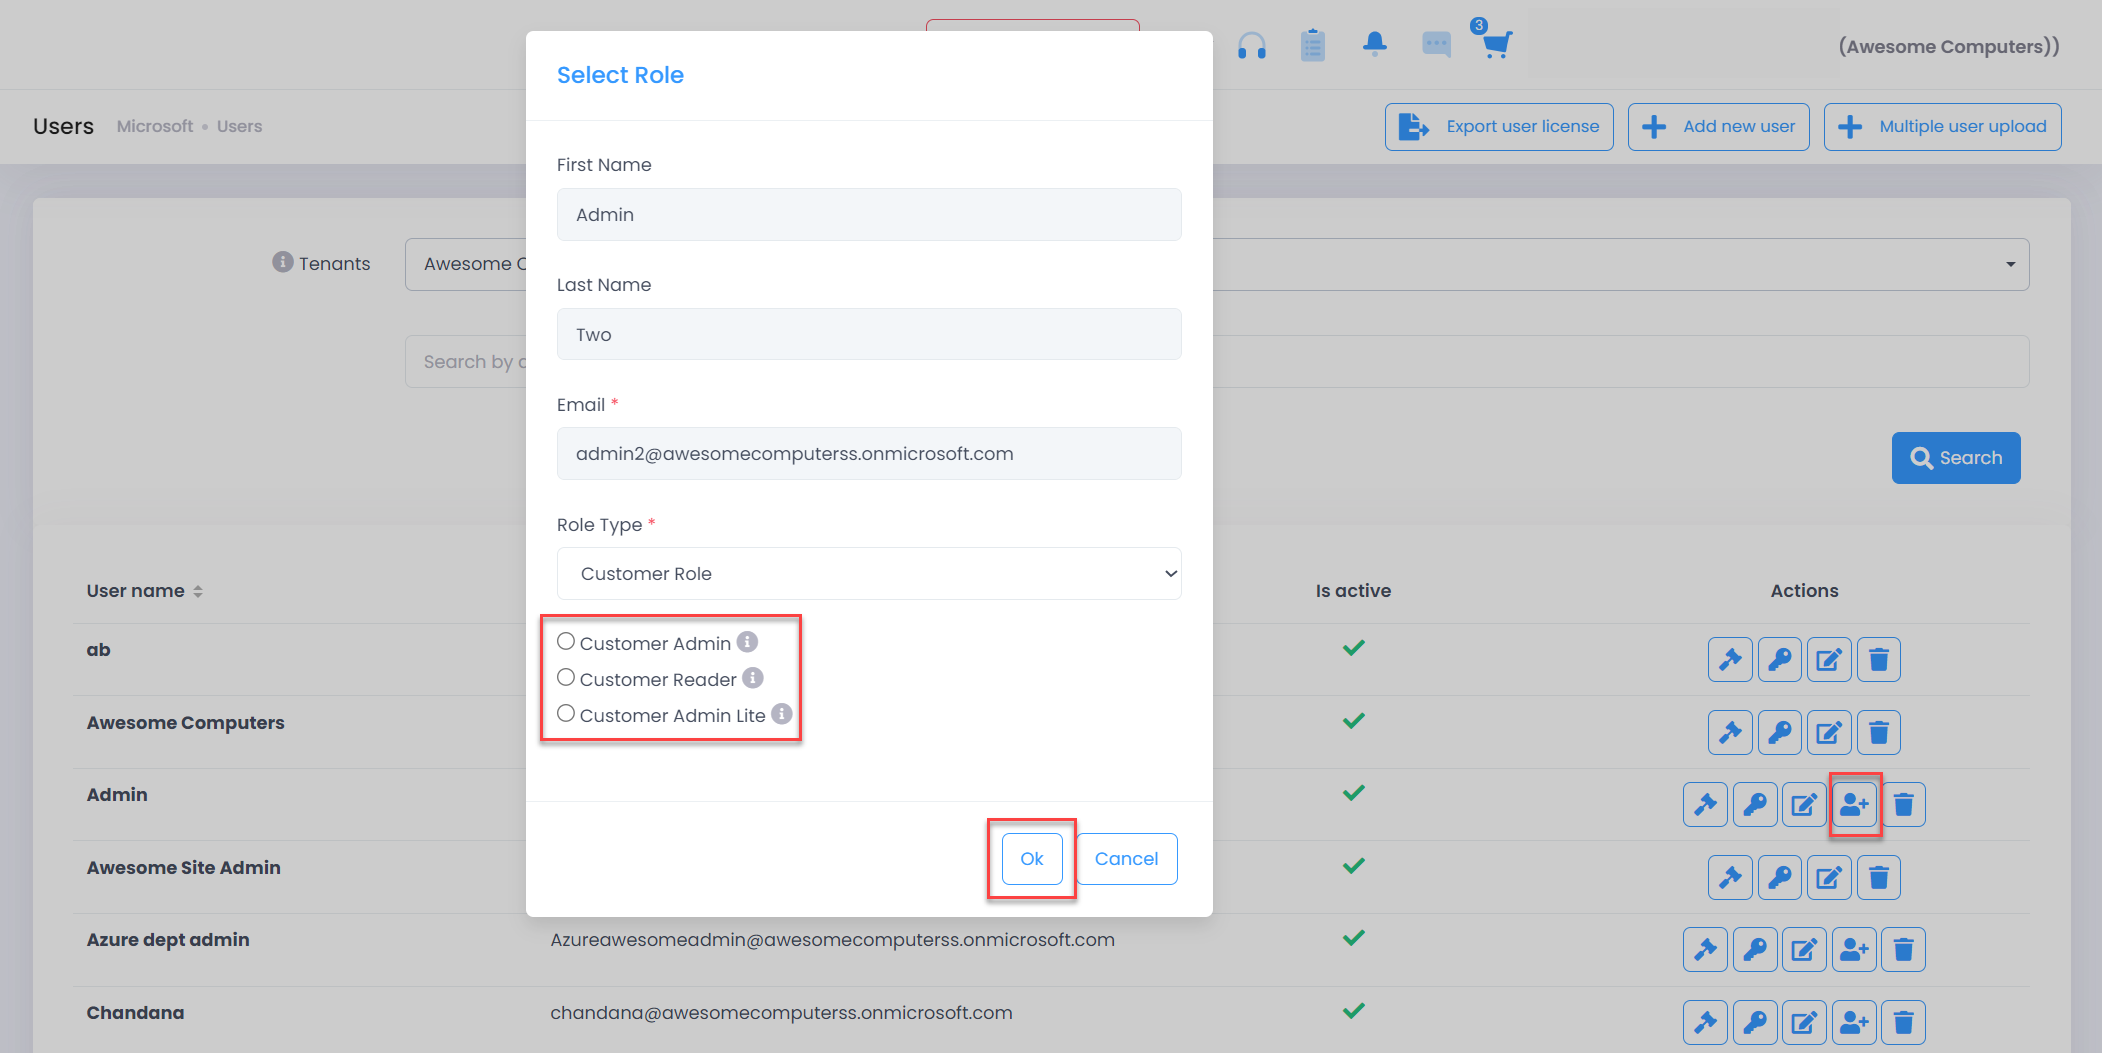
Grant access to the Portal
- Click on User section under Microsoft menu item from the left menu bar
- Click on Grant access to the portal button for the desired user
- Select the Customer Admin/Reader role from the pop-up
- Click on OK button
- If the email notification is set up, a welcome email would be sent out to the user that is granted access to the portal
- From this point, user can login to customer portal as a customer admin/reader
- On the first login to the portal they must accept the terms and conditions (Customizable)
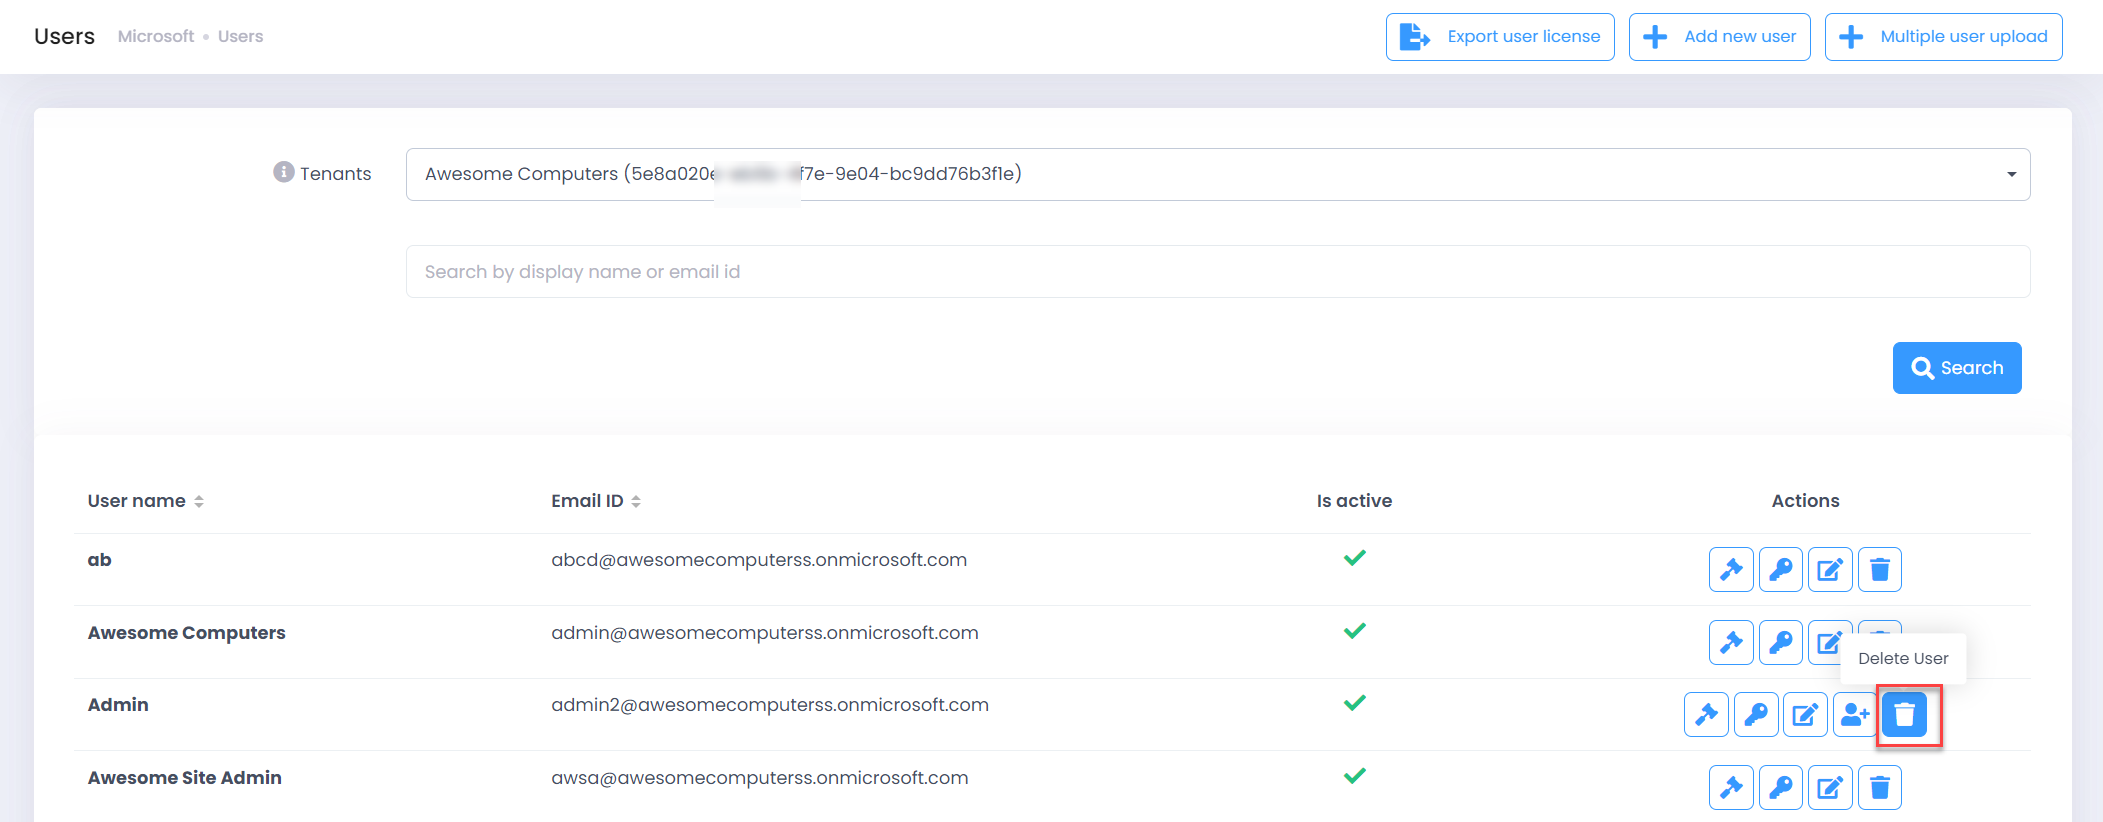
Delete User
- Use this to delete the user
- Note: Once the user is deleted, all licenses assigned to that user will also be removed